-
2103 Room NO.322 Xinggang One Road,Haicang District,Xiamen Fujian,China


How to Determine the Best Tilt Angle and Height for Solar Mounting Systems
Table of Contents
Choosing the correct tilt angle and height for a solar mounting system is critical for optimizing energy production and maintaining ease of maintenance. If set incorrectly, these factors can reduce efficiency and increase operational difficulties. This article explores the key points to consider, the types of foundations used, the materials available, and cost considerations. It also covers specialized systems like agrivoltaics and solar trackers.
What Is a Solar Mounting System?
A solar mounting system is the structural frame that supports solar panels. It ensures optimal sunlight exposure by setting appropriate tilt angles and panel elevation. A well-designed mounting system not only secures the solar modules but also enhances self-cleaning by facilitating the fall of debris and snow.
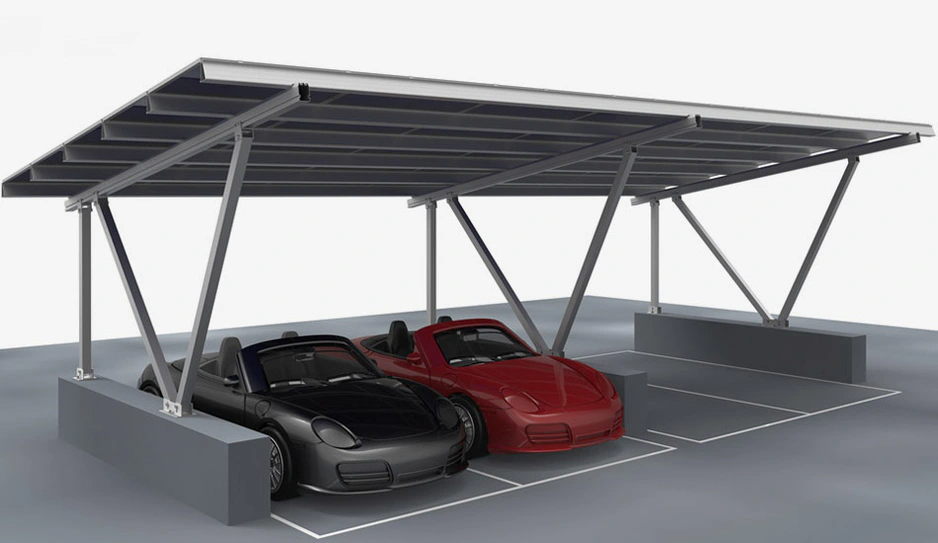
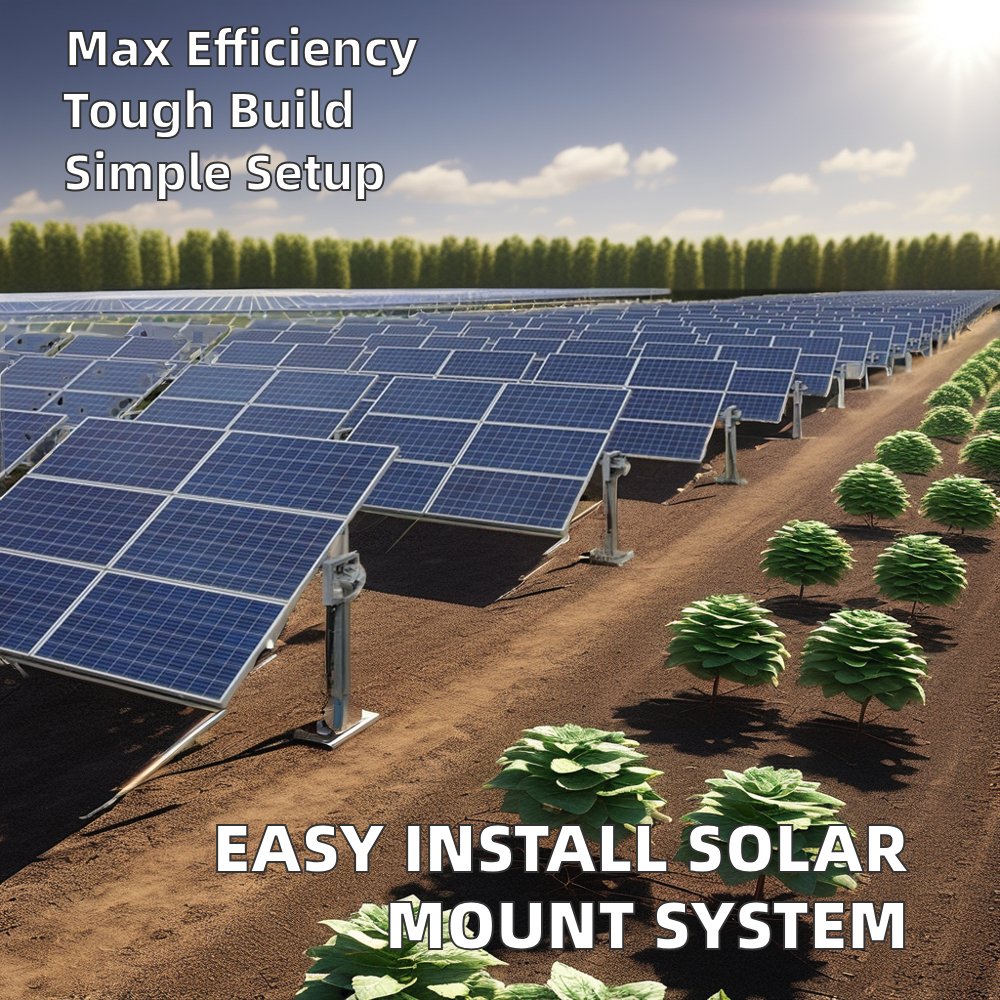
Relevant Product: Ground Solar Mounting System
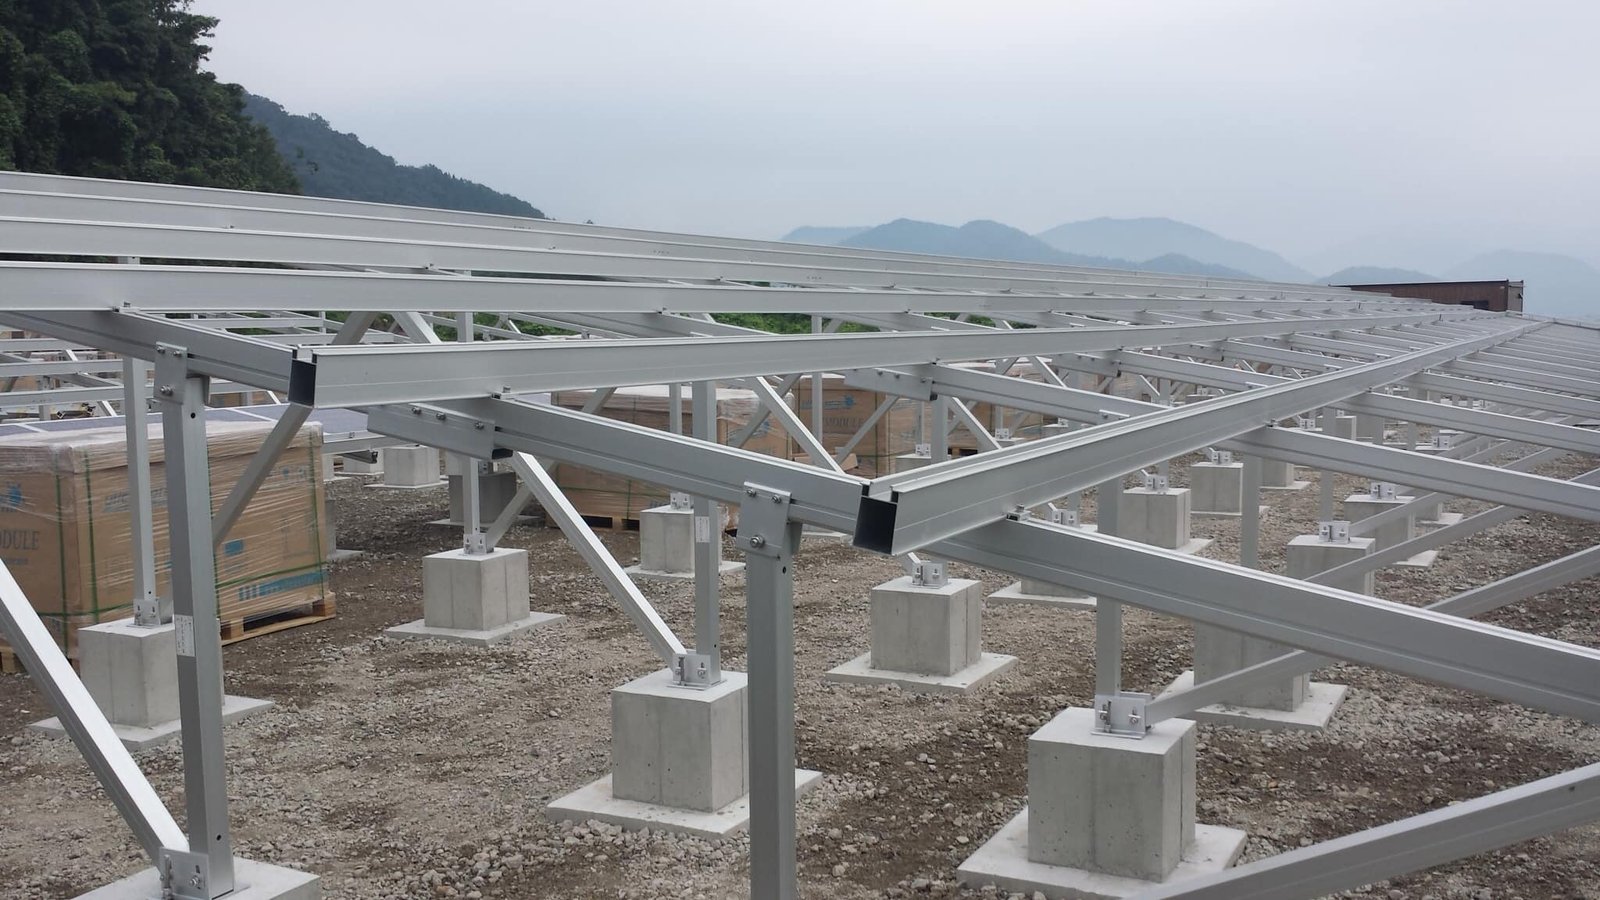
Types of Foundations for Solar Mounting Systems
Concrete Foundations
- Block Foundation
Fixed with pre-cast blocks; low cost but requires careful planning.
🔗 Concrete Block Foundation - Strip Foundation
Continuous concrete lines; costlier but more stable. - Raft Foundation
A large flat concrete slab; high strength and stability, but most expensive.
Pile Foundations
- C-Shaped Steel Piles
Economical and easy to install.
🔗 C – Steel Ground Mount – Screw Pile Foundation - Pipe Piles (Single Tube)
Lower cost but weaker in pull-out strength. - Screw Piles
Helical structure enhances pull-out resistance; ideal for utility-scale projects.
🔗 Aluminum Ground Mount – Screw Pile Foundation
Materials Used in Solar Mounting Structures
| Material | Advantages | Disadvantages |
|---|---|---|
| Steel | High strength, low material cost | Heavy, prone to rust (unless galvanized), harder to recycle |
| Aluminum | Lightweight, corrosion-resistant, recyclable | Lower strength, slightly higher material cost |
| Stainless Steel | Very strong and rust-resistant | Expensive, hard to process on-site |
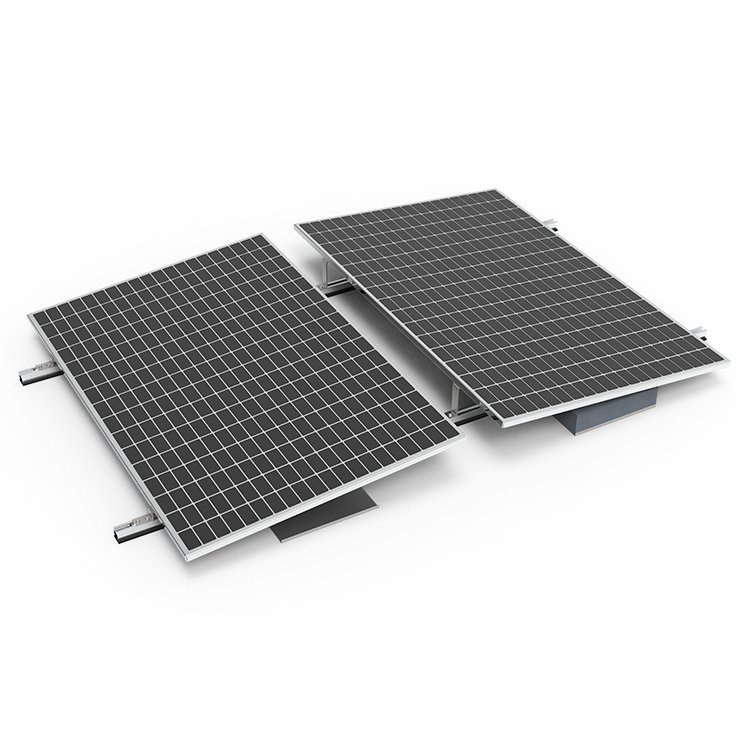
More Info: Solar Mounting Accessories
Specialized Solar Mounting Systems
Agrivoltaic Mounts
Designed for dual-use with agriculture, these mounts are taller (typically over 2 meters) to allow farming underneath the panels. They require deep pile foundations to maintain structural integrity.
🔗 Agricultural Farmland Solar Mounting System
Solar Tracking Systems
Trackers follow the sun’s path, improving energy generation by 20–50% depending on type:
- Single-axis trackers follow east-west movement.
- Dual-axis trackers follow both east-west and north-south axes.
They are motorized and use sensors or GPS for real-time adjustment.

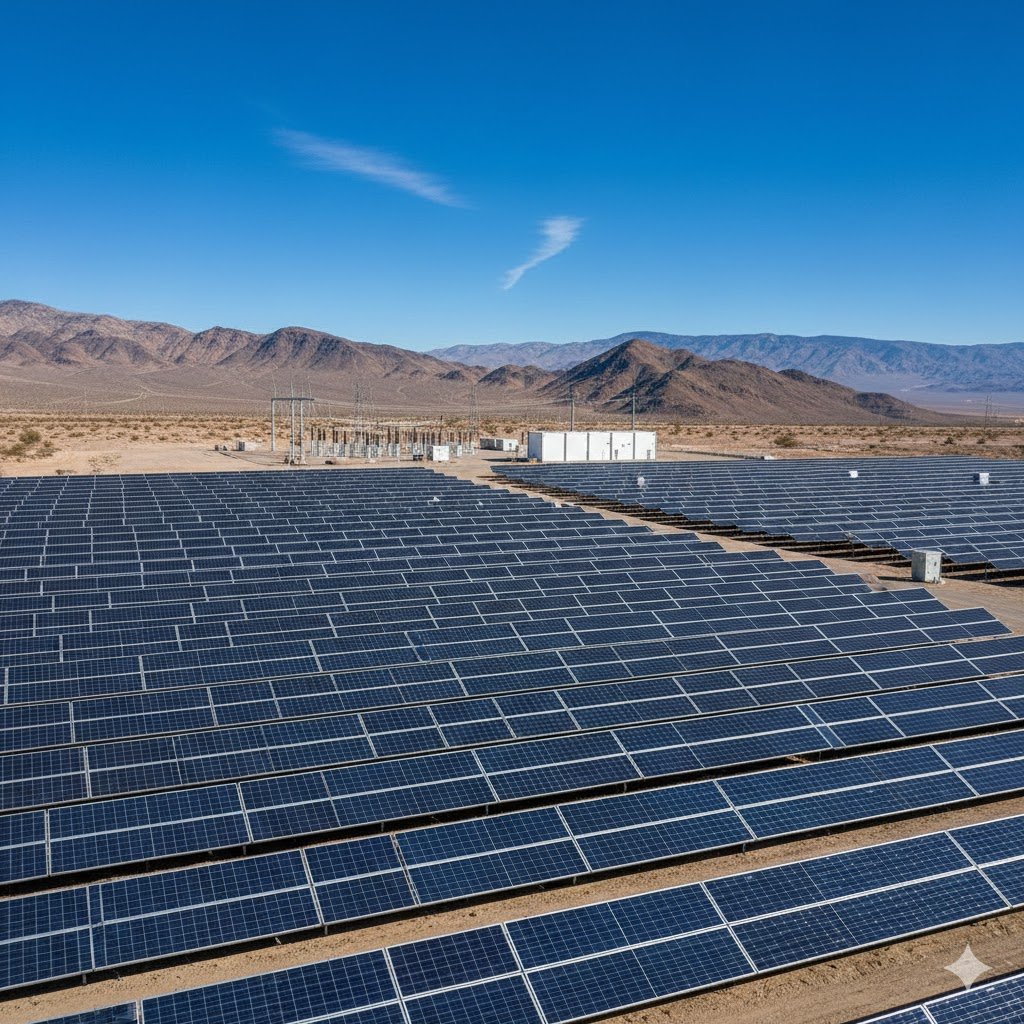
Typical Installation Costs
According to Japan’s Ministry of Economy, Trade and Industry (METI), mounting system installation costs have been rising. For example:
| System Size | Approximate Cost in Japan |
|---|---|
| 30 kW | ¥1,080,000 (~$7,200) |
| 40 kW | ¥1,440,000 (~$9,600) |
| 50 kW | ¥1,800,000 (~$12,000) |
Note: Costs may vary based on foundation type, material, and site conditions.
For international projects, pricing is typically calculated per kW. Example:
- Concrete foundations: $100–$150/kW
- Screw pile systems: $80–$120/kW
- Tracking systems: $150–$250/kW
Key Points for Setting the Tilt Angle
1. Land Usage Efficiency
While a 30° tilt is common, optimal angles vary by region. In northern areas, 35–40° may be ideal, while sunnier, equatorial zones might benefit from 10–25°. Balance shading and land use to prevent row-to-row shading.
2. Debris and Snow Slide-Off
Use steeper angles (30° or more) in snowy or leafy areas to allow self-cleaning and prevent panel damage due to excess weight.
3. Wind Resistance
Steeper angles increase wind load. Reinforcement and material selection (e.g., galvanized steel or thicker aluminum) become crucial.
🔗 Ramming Pile Ground Mounting System
Key Points for Setting the Height
1. Weed Management
Low mounts (<60 cm clearance) increase the need for frequent weeding. Raising the mount height to at least 60 cm can allow for annual maintenance only.
2. Inspection and Cleaning
Make sure the top edge of the panel can be accessed without excessive effort. Heights around 1–1.5 meters are generally optimal.
3. Snow Coverage
In heavy snowfall regions, increase the height to prevent the lower panel edges from being buried.
Summary
When planning your solar mounting system, careful consideration of tilt angle, height, foundation type, and materials will dramatically affect performance and maintenance needs. Tailor the specifications to your local environment—whether snowy, windy, or agricultural—and choose systems that balance cost and efficiency.
Need help selecting the right solar mounting system?
Check out our solutions at Firstsolar or explore our most popular systems: